

Creator Tutorial [upd] - Presagis
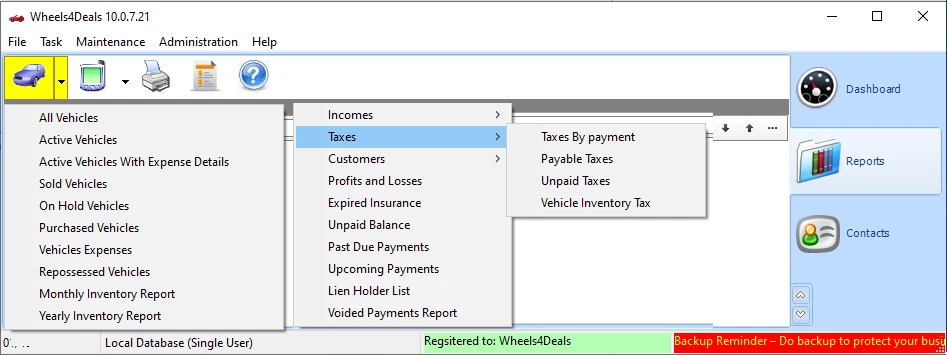
Use module (if licensed):
Before importing your model into a simulation engine like Vega Prime or VBS, you must validate its structure. Go to .
If your model has moving parts—like a rotating radar dish on top of the tower—you use a DOF node. Insert a above the radar geometry.
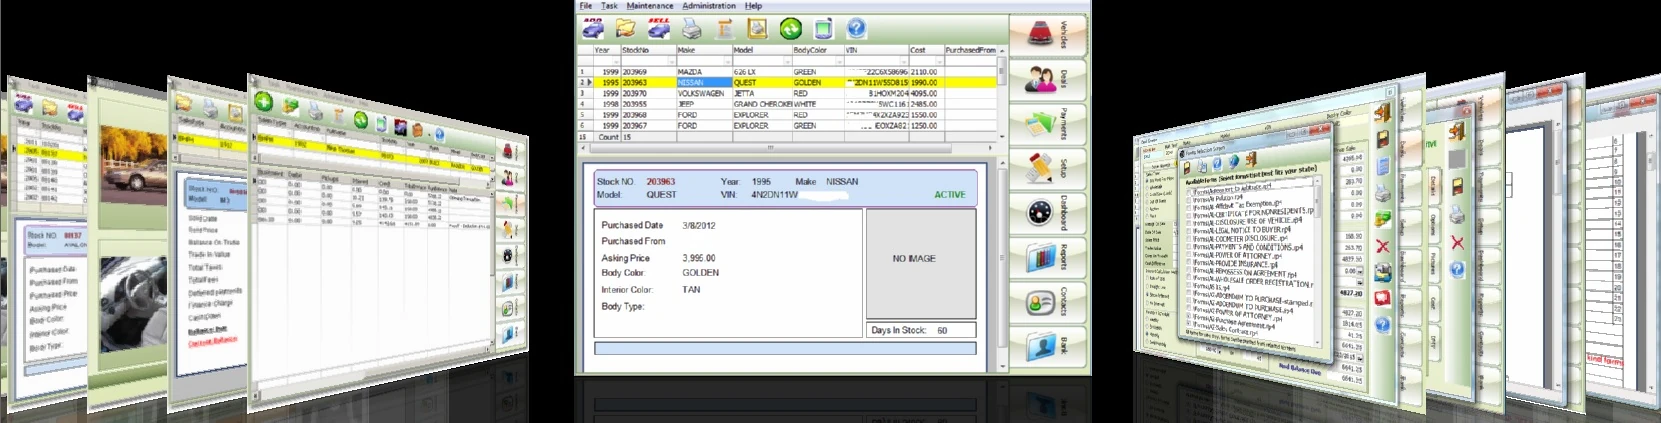
Located typically on the left side of the screen, this is the most critical pane in Creator. It displays your model’s structure as a tree diagram, using a drag-and-drop system to manage nodes, groups, faces, and attributes. presagis creator tutorial
In the Graphics View, left-click three anchors on your geometry to define the origin, U-direction, and V-direction of the texture.
Click to load your image file (use .rgb , .dds , or .tga formats for optimal compatibility). Assign a unique index number to the texture. Step 2: Apply UV Coordinates Select the specific polygon face of your building. Open the Texture Mapping Tool (shortcut M ). Choose Put Mapping to project the texture onto the face.
Textures add realism without adding heavy polygon counts. Creator features powerful UV mapping tools designed for real-time precision. Preparing the Texture Use module (if licensed): Before importing your model
: Use tools like Move , Rotate , Scale , and Extrude to modify geometry.
Set the minimum limit ( 0.0 ) and maximum limit ( 5.0 meters). The simulation engine will now read this node and animate the door accurately along that restricted axis. Setting Up Level of Detail (LOD) Nodes
To help customize this guide to your specific training or engineering pipeline, tell me: Insert a above the radar geometry
Adjust the UV coordinates using the texture handles to scale and align the image correctly. 5. Optimization Strategies for Real-Time Simulation
Allows the simulation engine to toggle between different states of an object (e.g., an intact building vs. a destroyed building).