

Kodak Preps 8 Tutorial Hot! Jun 2026
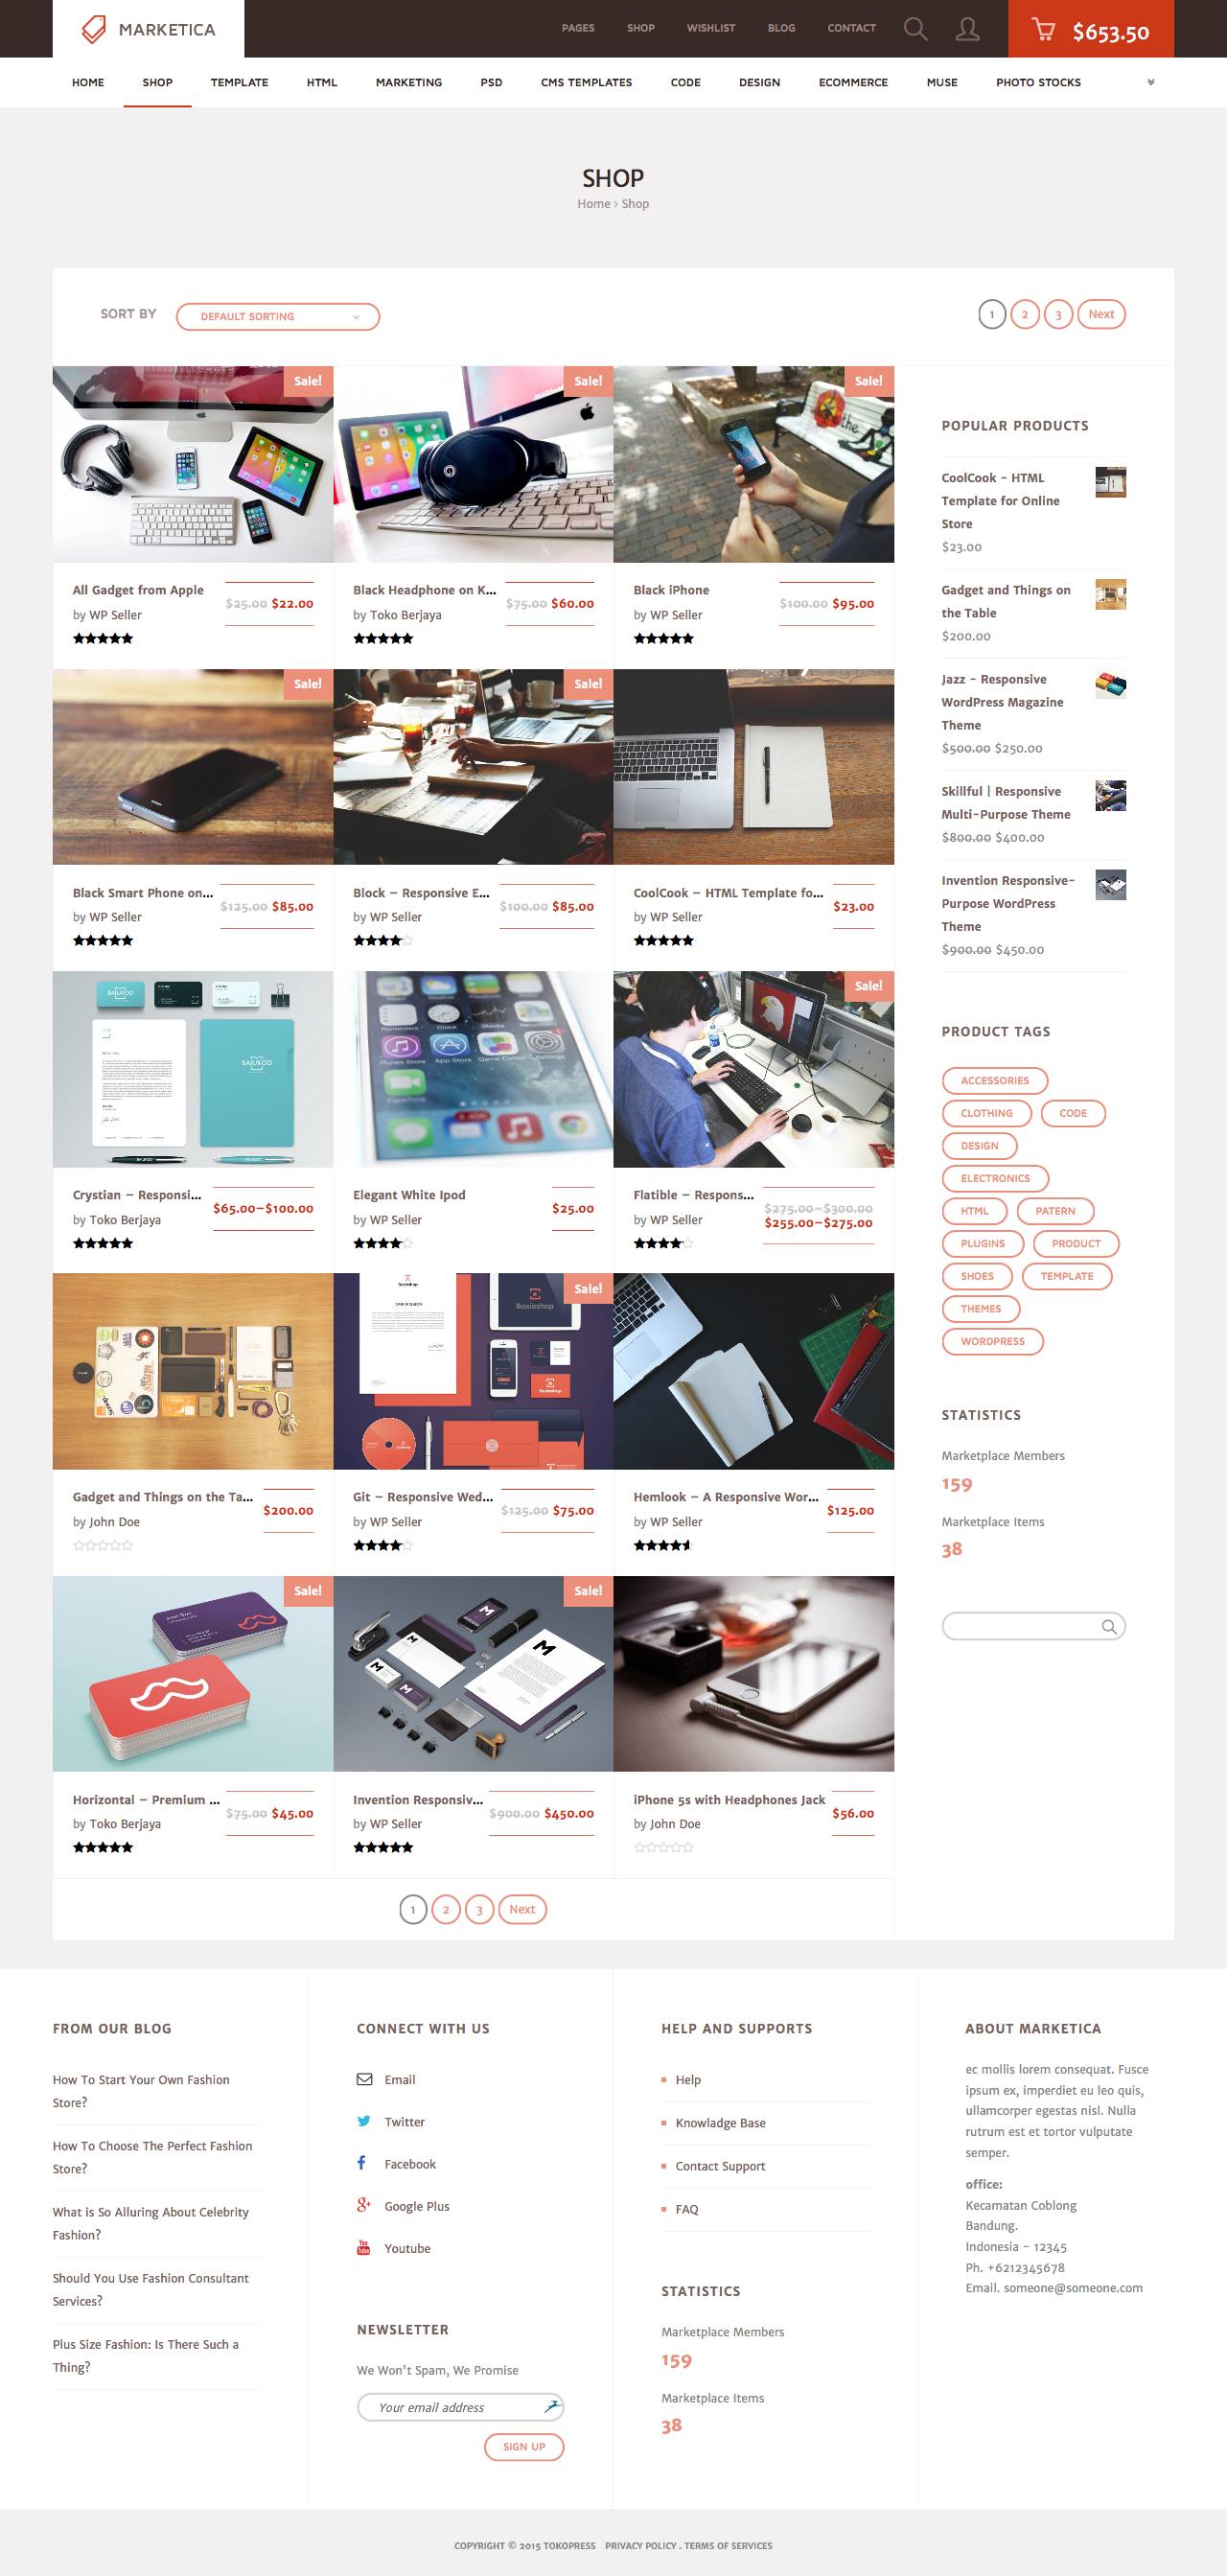
In an era of "push-button" imposition from some all-in-one RIPs, Kodak Preps 8 remains the gold standard because it gives you control. Control over sheet optimization, control over complex folds, and control over automation.
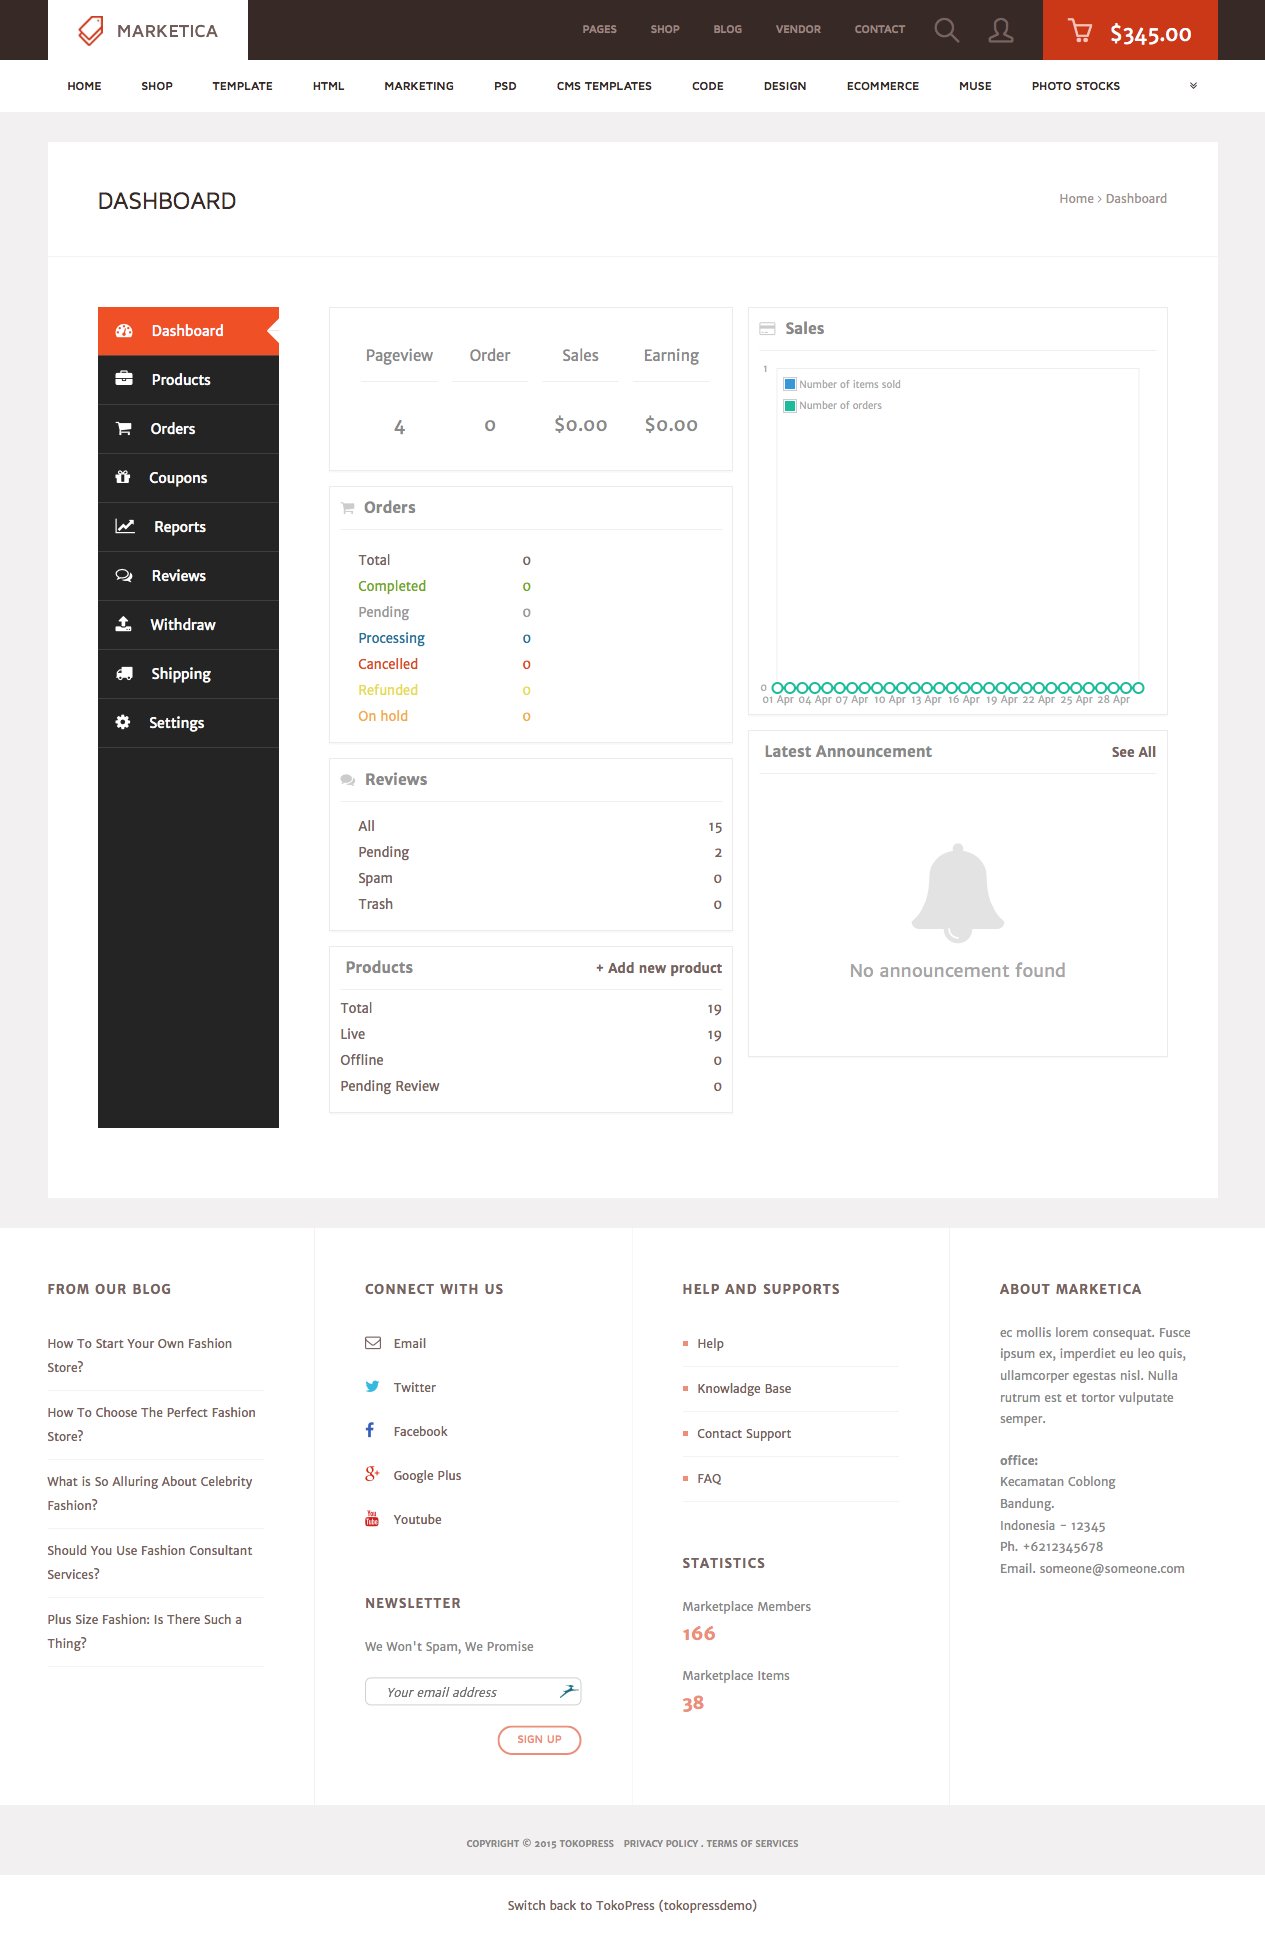
button, enter the number of repeats (Width/Height), and set your gutters for spacing. Assign Pages : Navigate to the Pages view
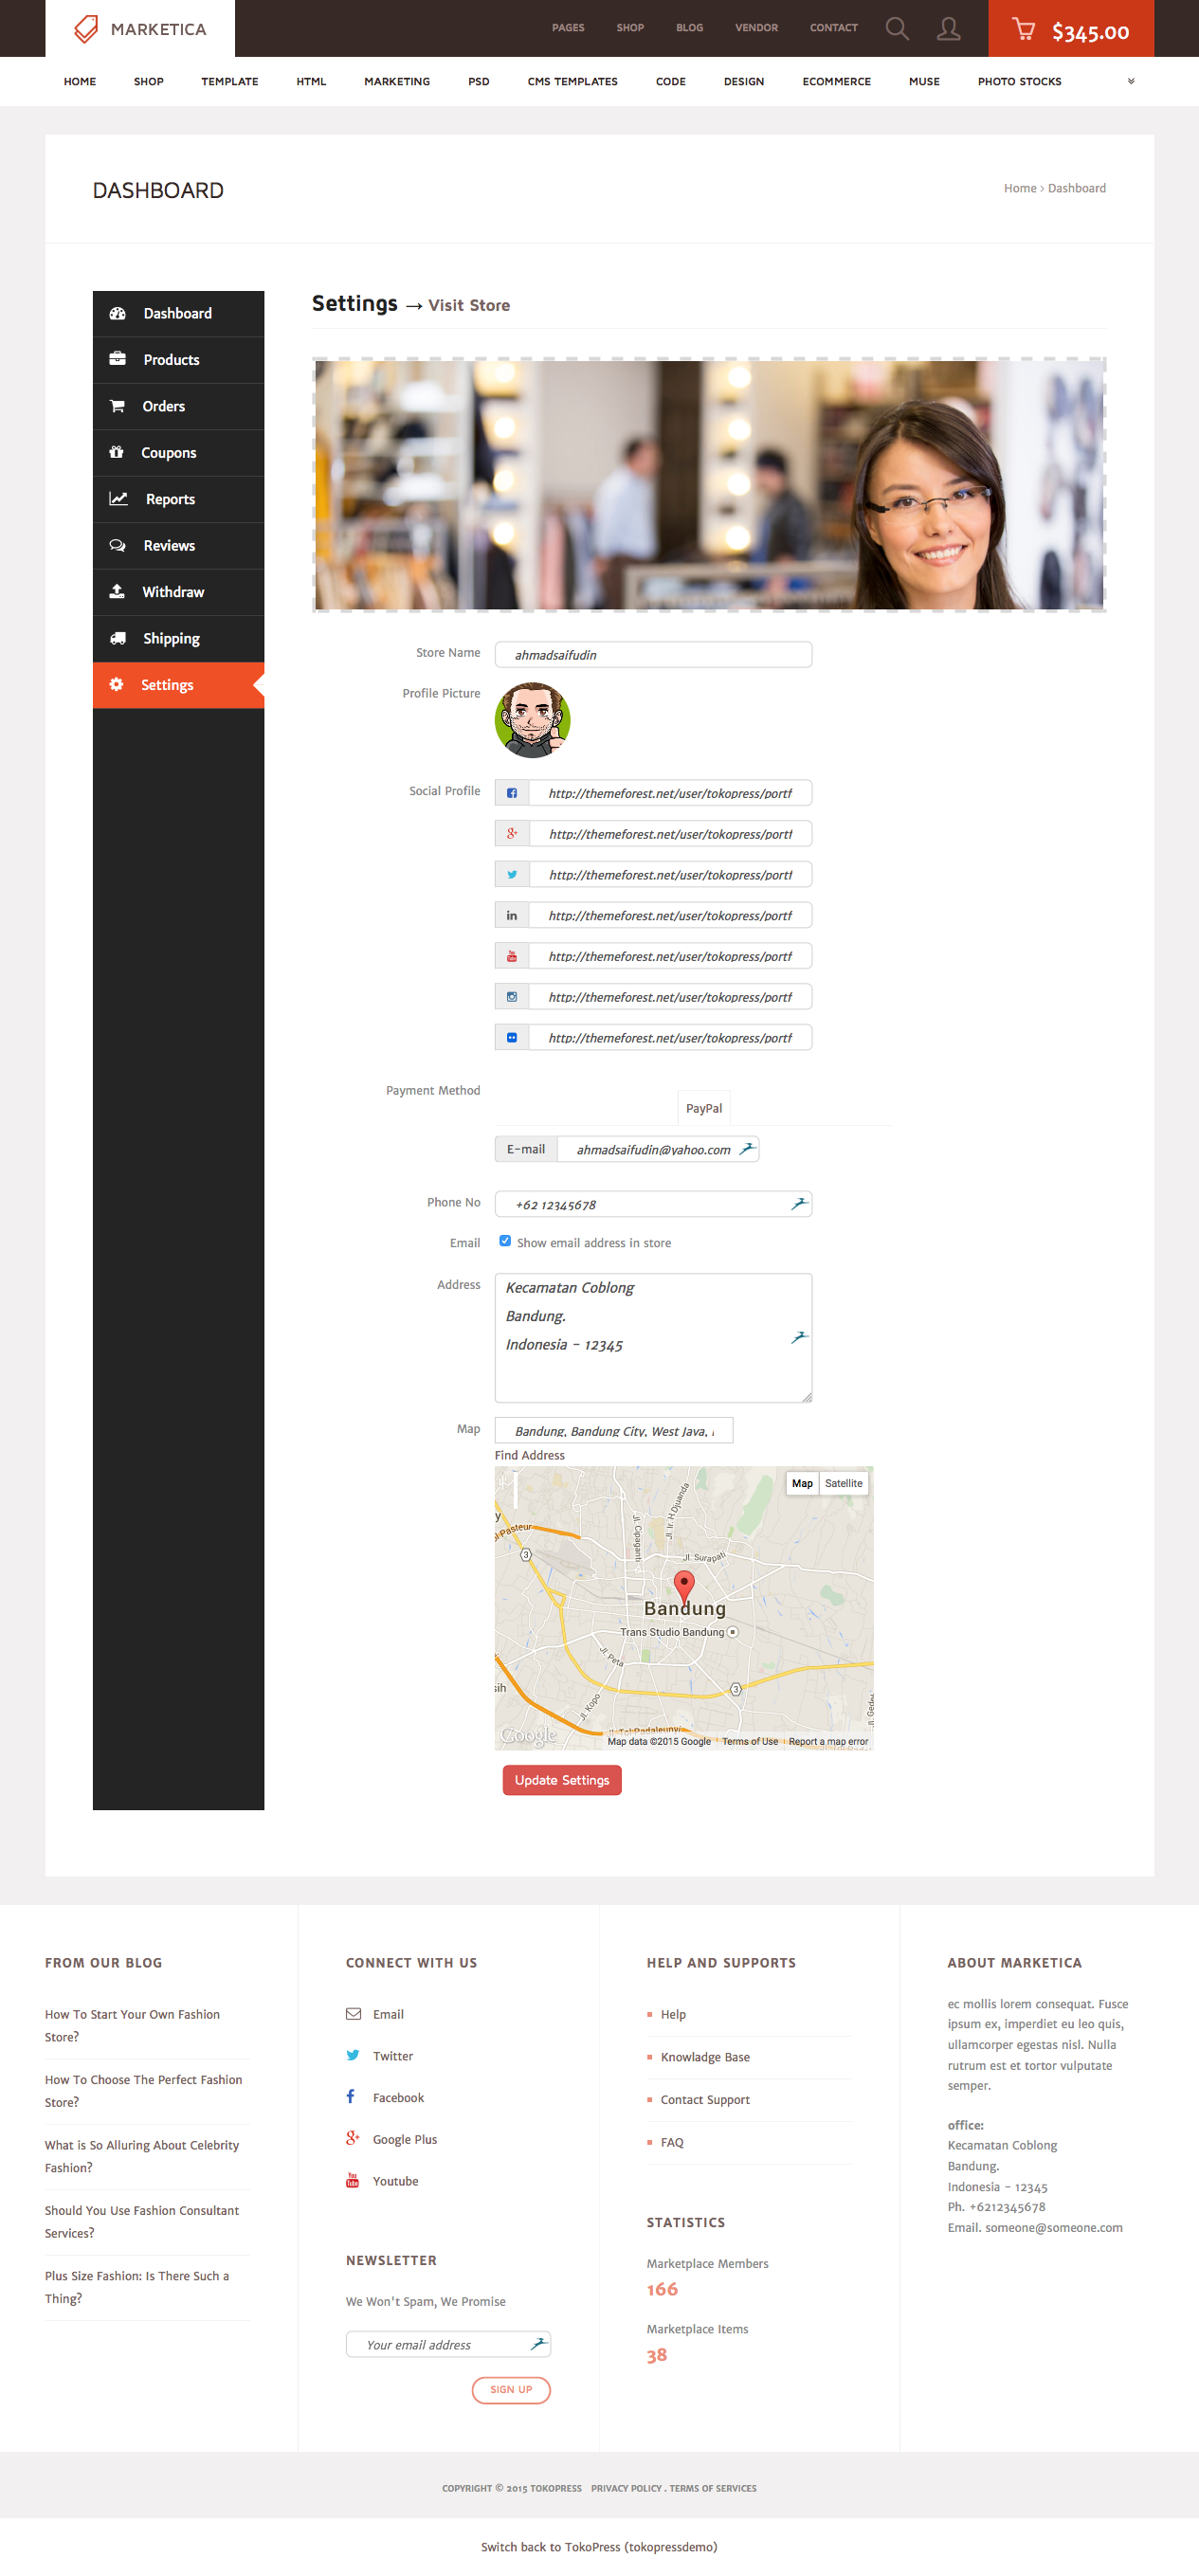
Tip: If your PDF is already in sequential order, you can use the button to populate the entire signature instantly. 7. Step 6: Compensating for Creep (Shingling) kodak preps 8 tutorial
Have a specific Preps 8 question? Drop it in the comments below. For official documentation, refer to the Kodak Preps 8 User Guide (included with the software).
Digital imposition is a critical step in the prepress workflow. It ensures that pages are arranged correctly for printing, folding, and binding. Kodak Preps 8 is the industry-standard software for this task, offering powerful automation tools and template management. In an era of "push-button" imposition from some
Preps 8 Warning: The Step & Repeat tool does not automatically check if your cards fit. If the calculation causes the last card to fall off the sheet, the preview will show a red bounding box.
Navigating Preps 8 efficiently requires understanding its three primary workspace views. The Pages View Assign Pages : Navigate to the Pages view
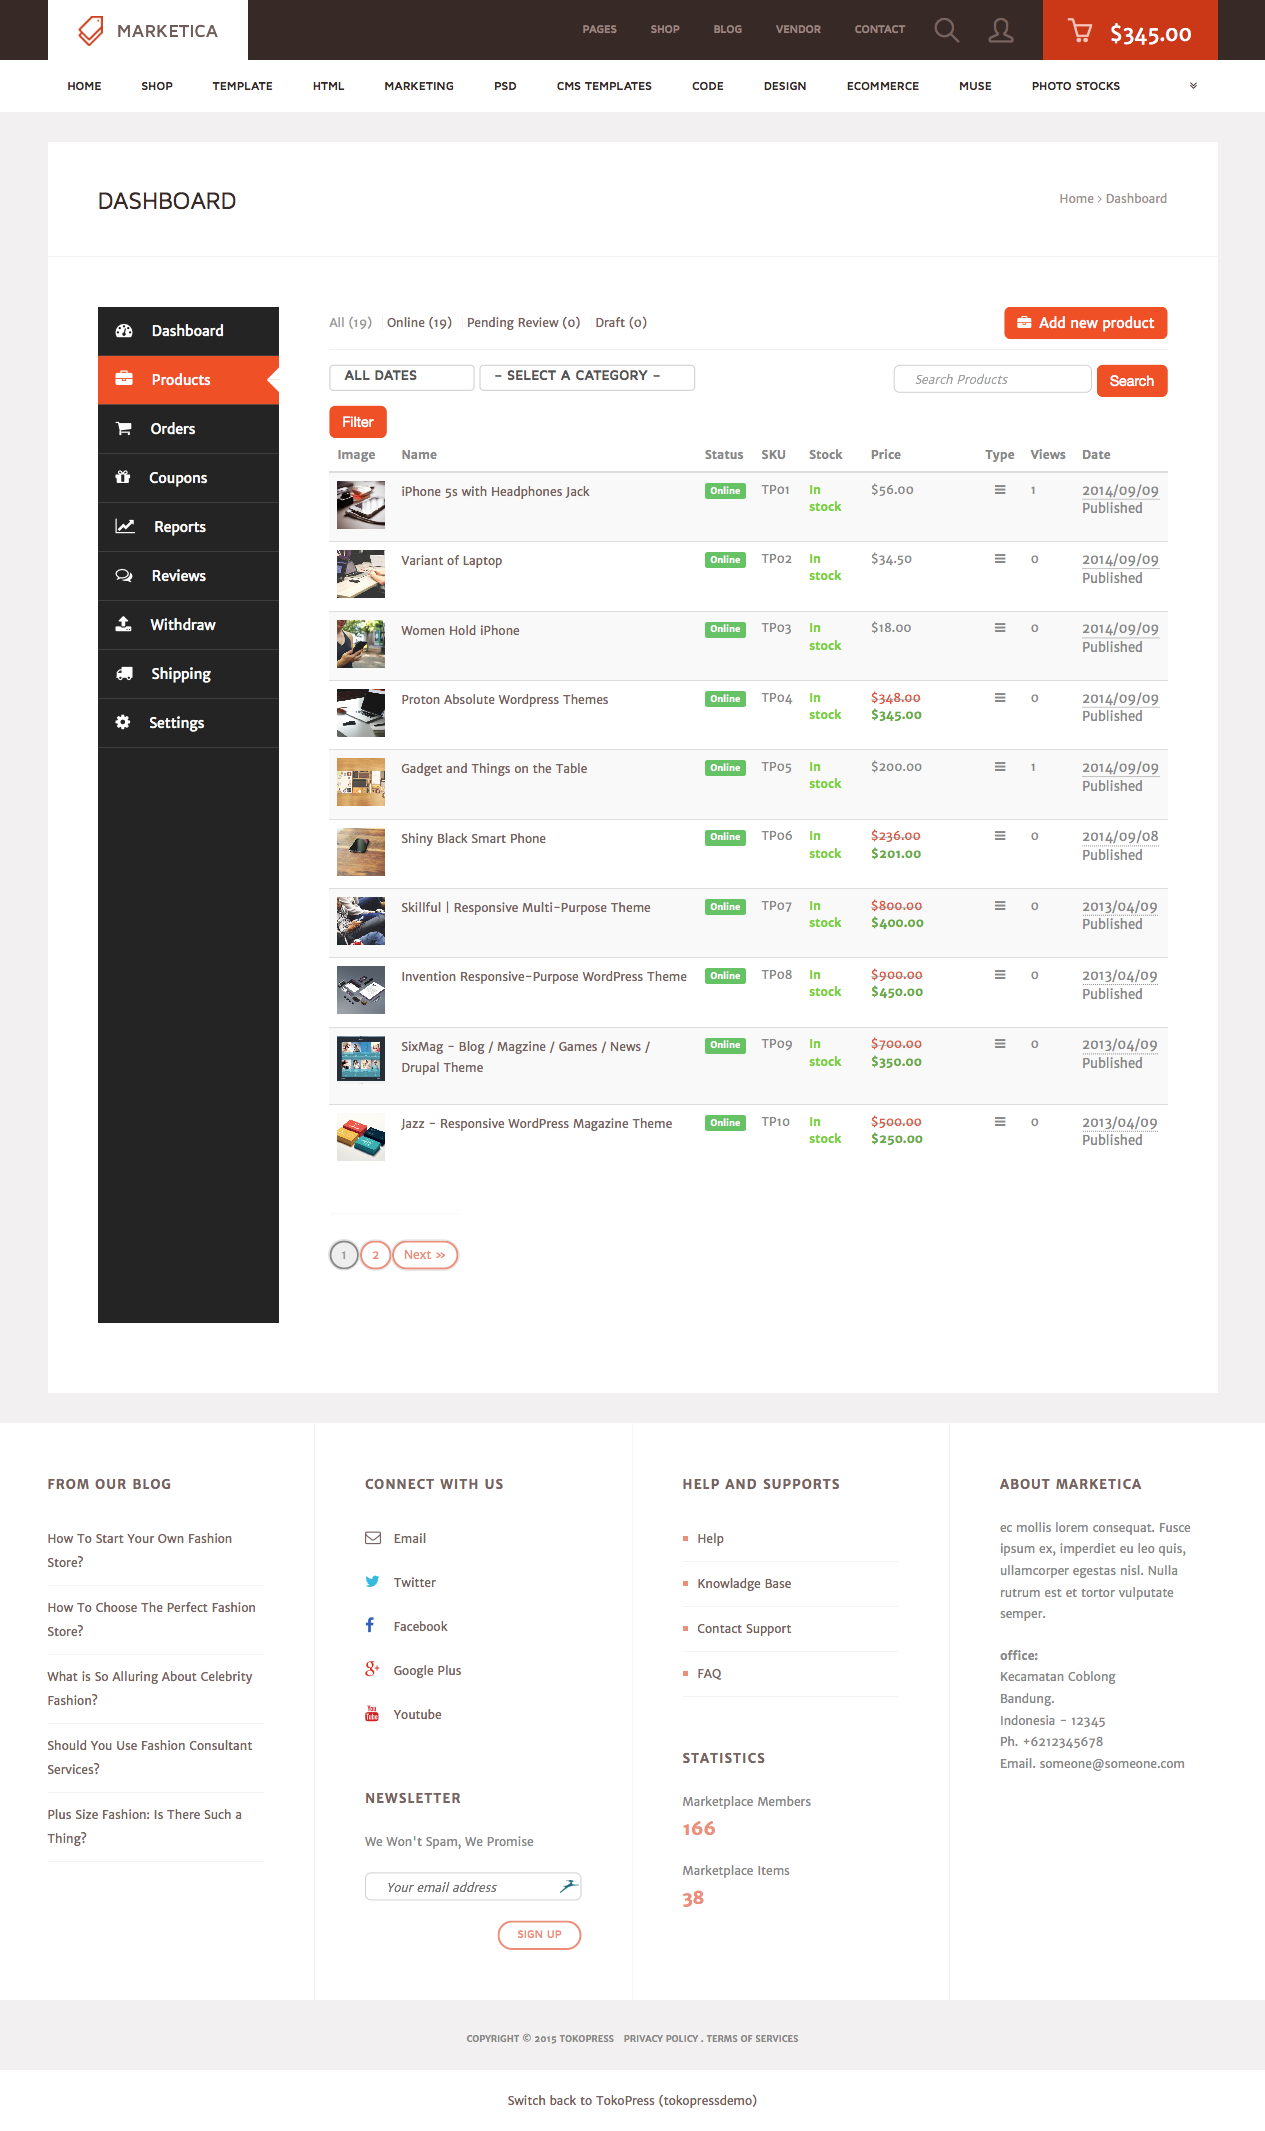
Right-click a mark to edit its properties, binding it to the "Sheet", "Job", or "Page" so it moves dynamically if layout sizes change. 3. Step-by-Step: Creating a 16-Page Booklet Imposition
Select or Outer compensation depending on your bindery's preference.
You can also generate a printable PDF of the online documentation by clicking .
SUPPORT BY | QQSUPER99 © All Rights Reserved.
 Login
Login
 Daftar
 Live Chat